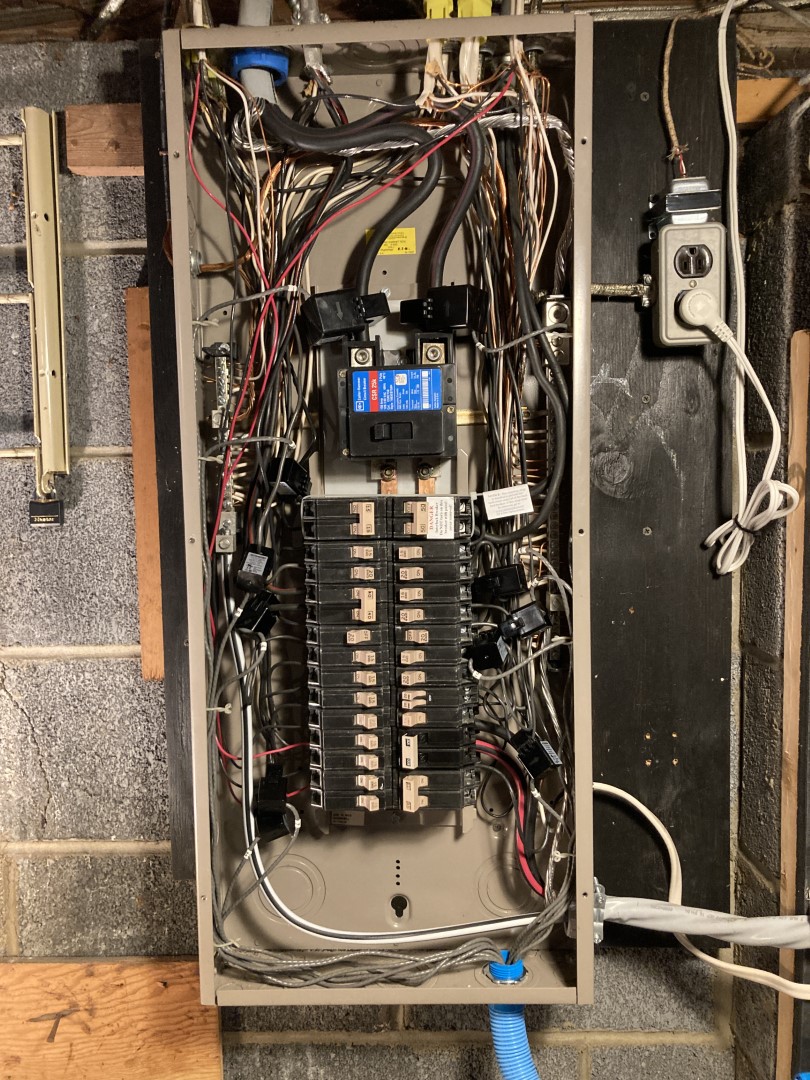
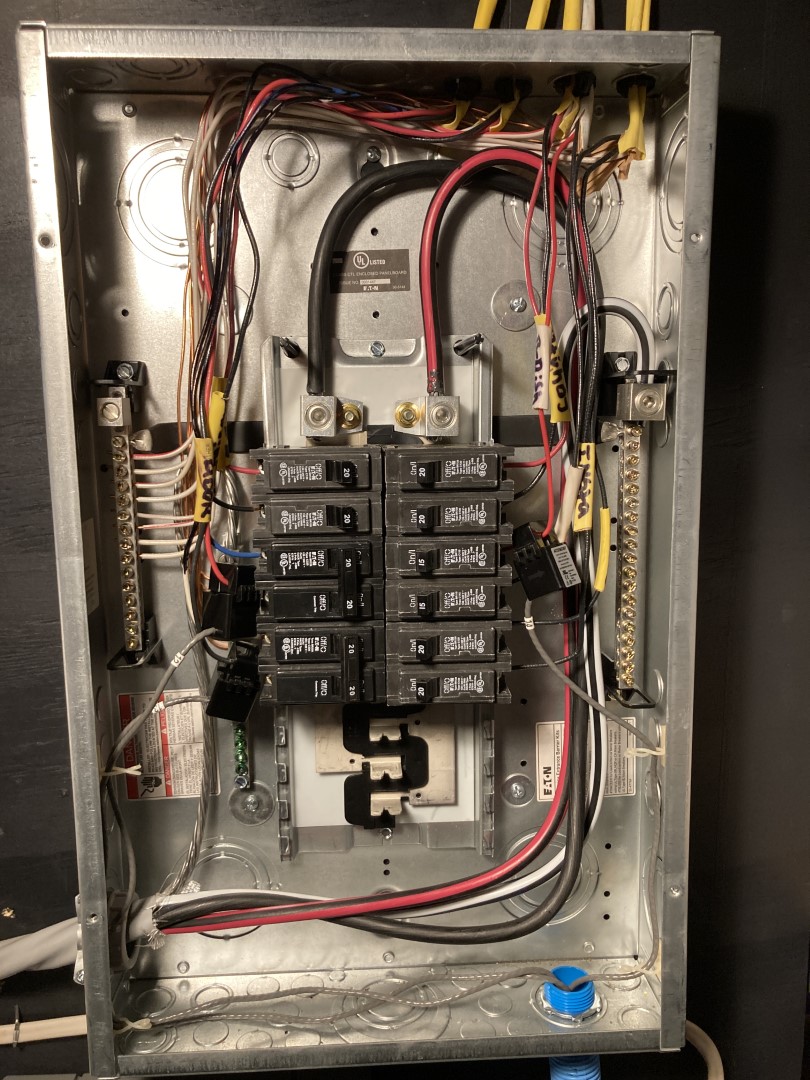
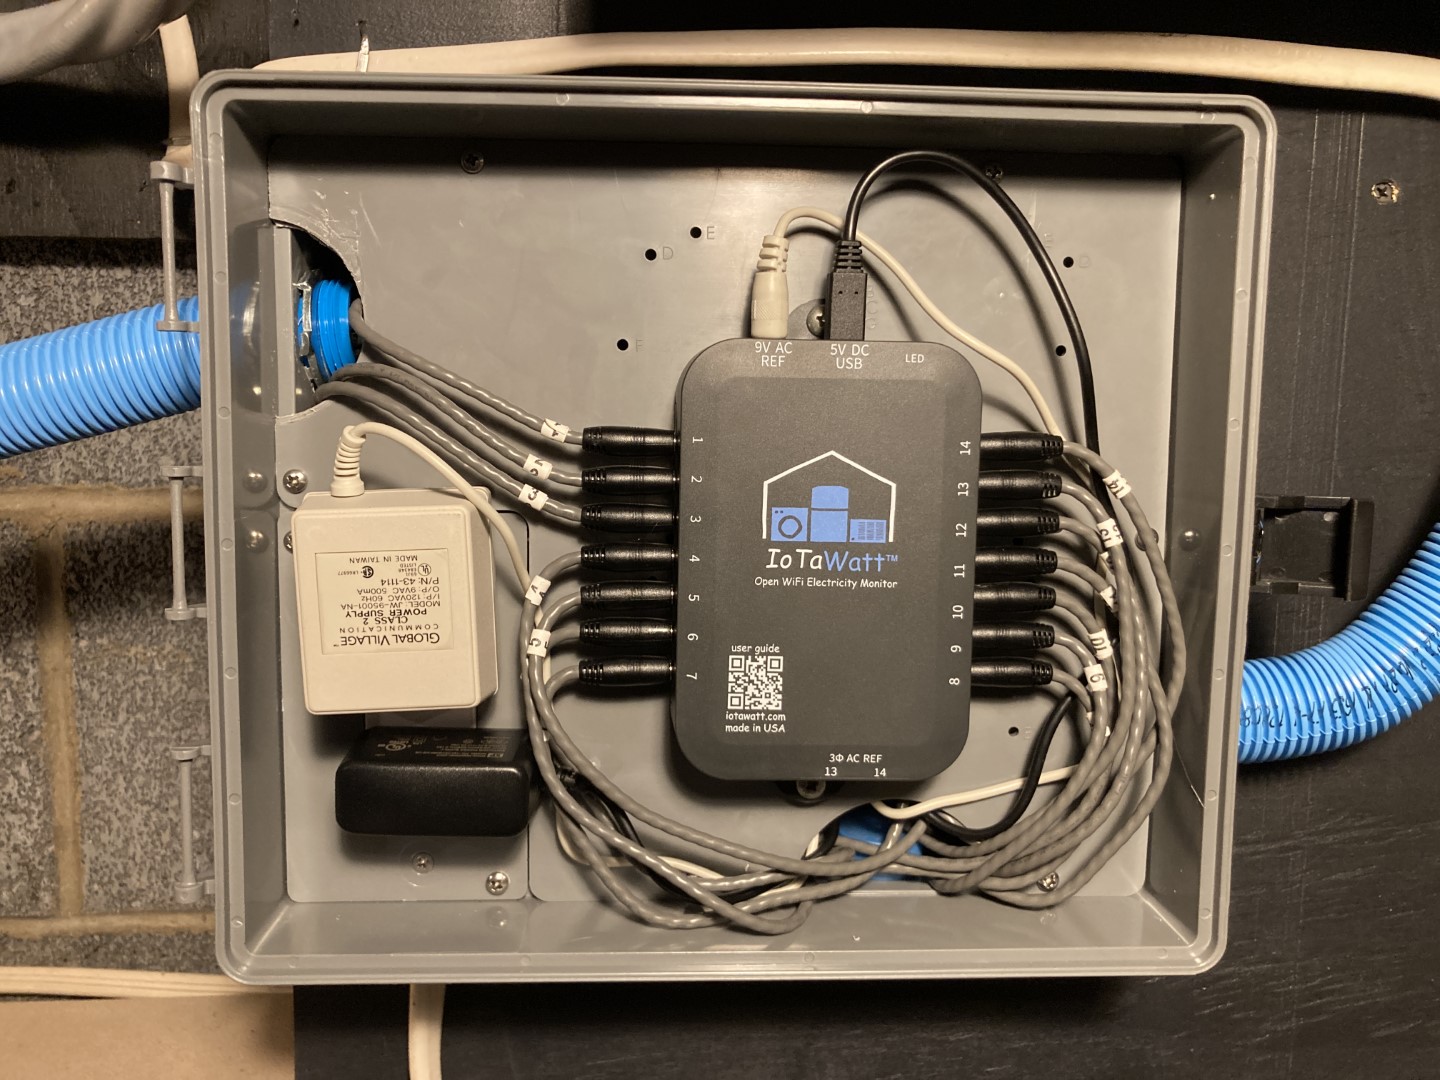
I’ve just finished up my install and wanted to post some photos and notes because this forum was such a rich source for me to figure out what to purchase and how to install in my situation. Thank you all for making my experience seamless and fairly easy. I ended up purchasing the US 120V Base Kit, (2) 200A & (12) 50A CTs. I figured I would find a use for a full complement, and I sure did. The parts came in 3 days - amazing!
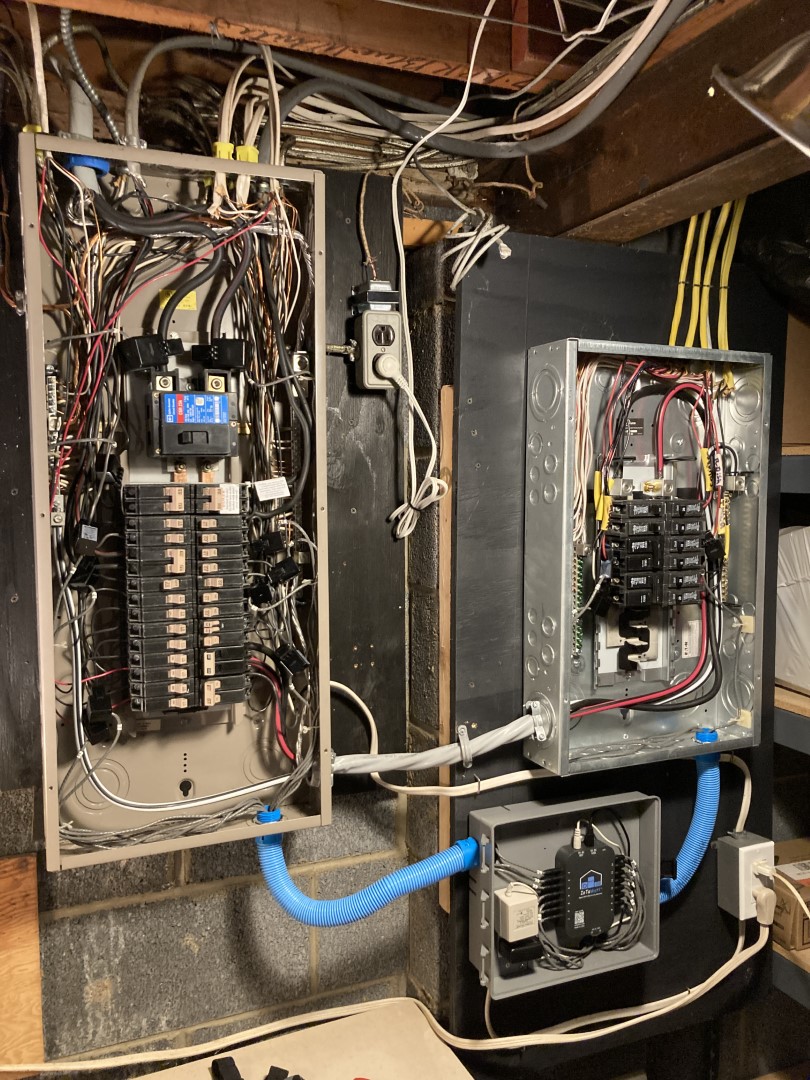
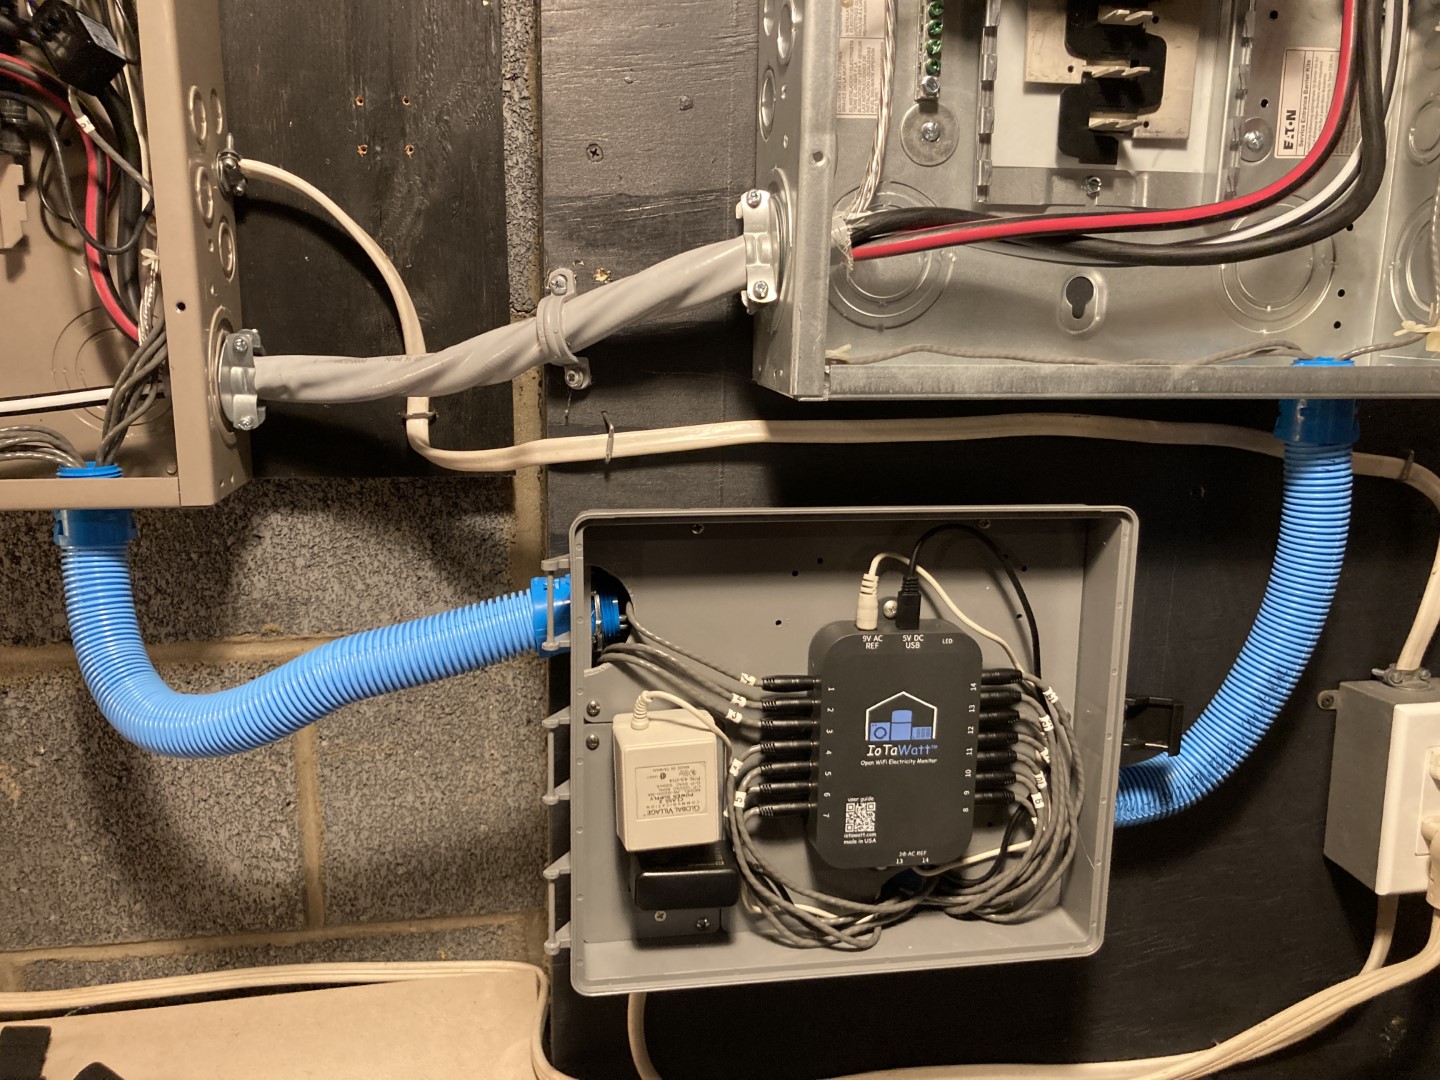
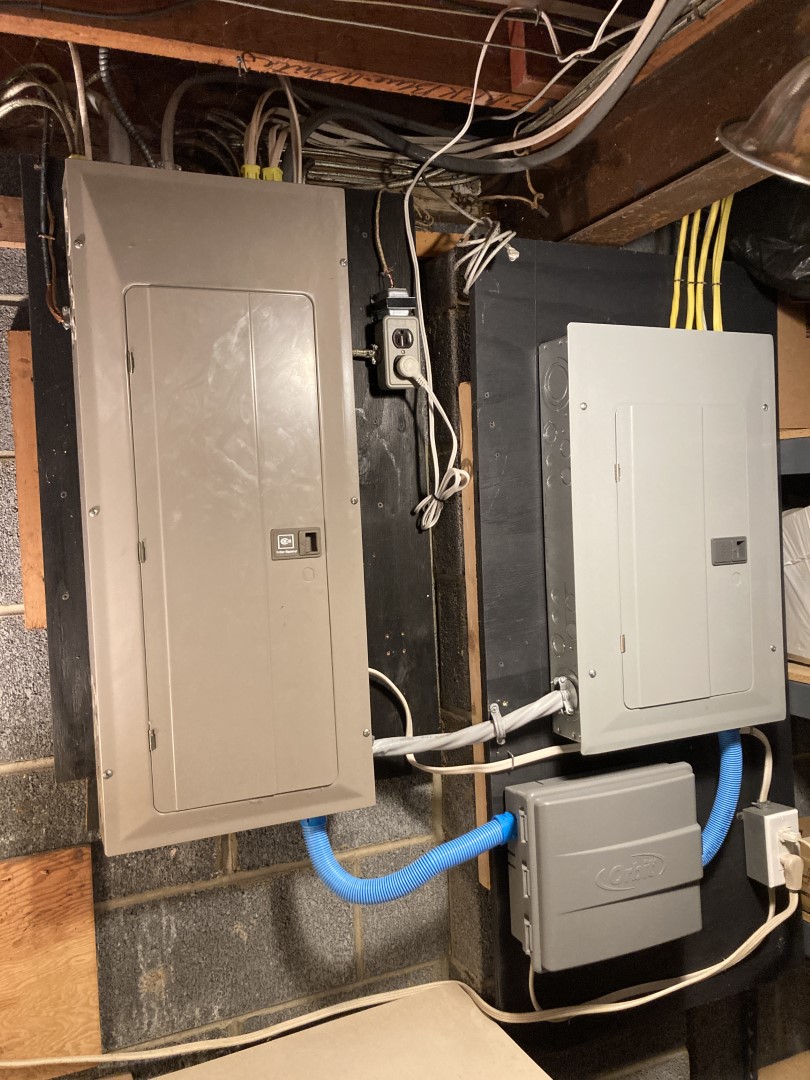
The install went well and without any problems. I used 1" ENT (smurf) tubing to connect my main panel and sub panel CT wiring. I hadn’t worked with ENT before and found it was not as flexible as I anticipated. I had laid out my box and wiring before I received the ENT and found it a very tight fit with the short lengths and curves. I used a hair dryer to soften the tubing enough to make it fit. I would definitely recommend the 1" if you’re running a good number of wires through the tubing. I also used the favored Orbit box and really like the look and ability to hide the wires behind the panel. I cut an additional semicircle in the top left to accommodate some CT wires that were just making it to the box. I also removed the supplied GFCI which so many of you found problematic and replaced it with a regular outlet.
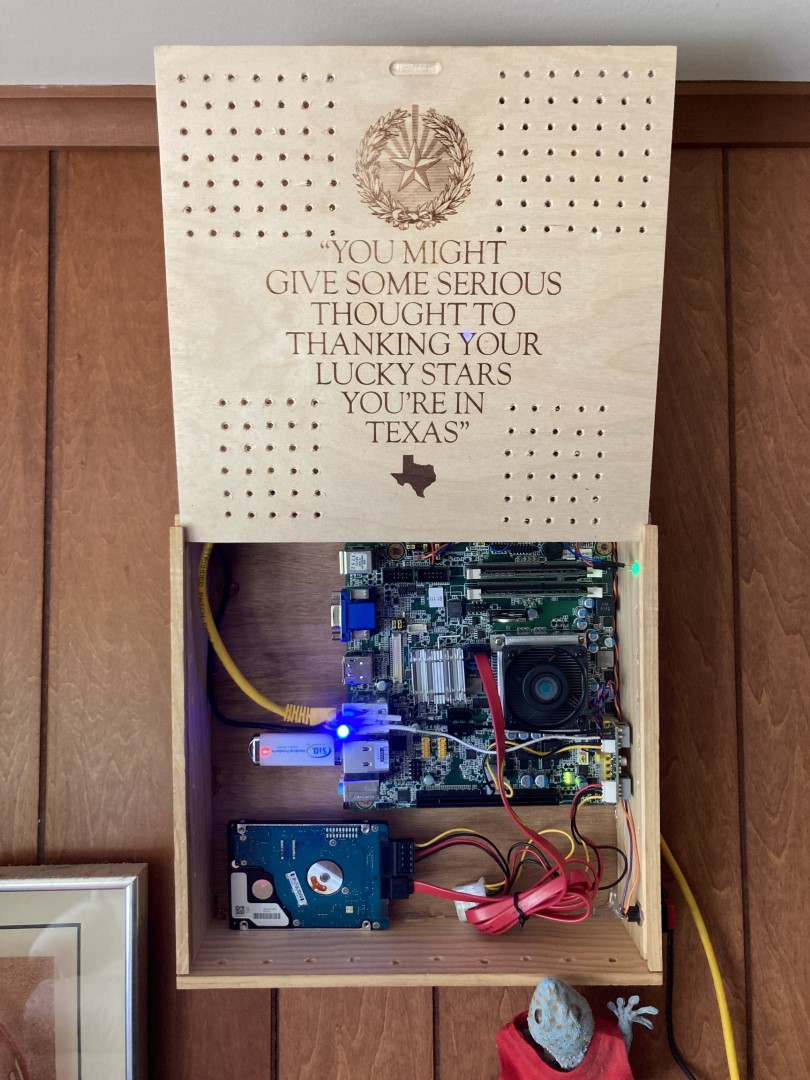
OpenEnergyMonitor with Emoncms is my monitoring and visualization software, installed on a spare single board computer board I had gathering dust, and running Ubuntu. IoTaWatt and Emoncms integrate with my overarching Home Assistant platform. Now that the hardware is done I’m having tremendous fun configuring dashboards and graphs in Emoncms which give me insights into our energy usage and patterns.
Thank you IoTaWatt for providing such a useful and robust platform to help us all get a handle on energy issues!